Here I'll show you how to quickly and easily build a simple Raspberry Pi security camera in just a few steps. Follow along and you'll have it streaming an H.264 RSTP video stream over the network that you can view live or record using many different software options.
There are many different ways to use the camera on the Raspberry Pi and many different instructions written online with just about variation that you can think of. Different camera hardware, different pieces of software, and even some designs adding a motion detector to have the Pi record only when motion is detected.
Like the title says, this one is meant to be simple. It's the easiest way that I have found so far to get your Pi streaming live video just like an IP security camera. Keep reading to see just how easy and inexpensive it is to get this running in no time at all. It's so simple in fact, that I put together a new Raspberry Pi 3 and camera, loaded some software, and had it streaming live video in just one very short evening, and it was the first time that I have tried this!
The parts I chose to use
Click each item below to view at Amazon and see the current price.
CanaKit Raspberry Pi 3 with 2.5A Micro USB Power Supply
Arducam 5MP 1080p Sensor OV5647 Camera Video Module for Raspberry Pi
SanDisk Ultra 32GB microSDHC UHS-I Card with Adapter
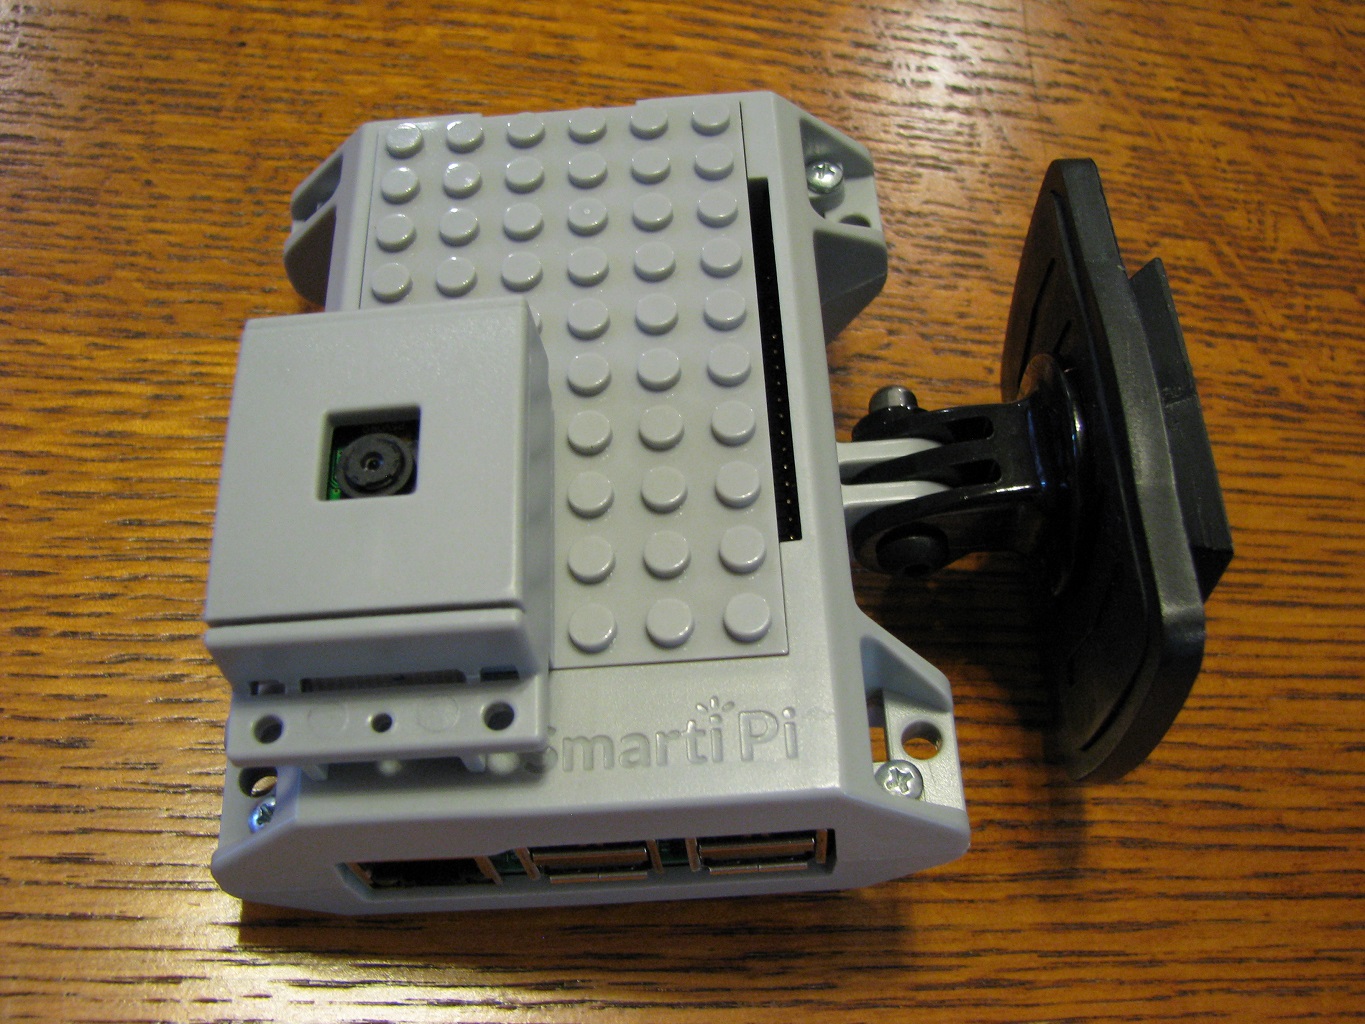
LEGO compatible SmartiPi Raspberry Pi B+,2, and 3 w/ camera case
Suptig Tripod Mount Adapter for Gopro
AmazonBasics Lightweight Mini Tripod
All of these parts can be substituted with something else
I used a new Pi 3 but an older model Pi will work just fine. Any microSD card should also work, as well as any case and mounting method of your choice.
I used a clone of the original Pi Cam because it was one of the most inexpensive options available, and you can use any camera that works with the Pi. My camera has a fixed IR-cut filter so it cannot see at night at all. You could use a NoIR camera instead that doesn't have an IR-cut filter. Those have inaccurate colors during the day but can see in the dark using an infrared light source.
Obviously, the tripod is completely optional. I listed it because I needed something for the GoPro mount on my case to attach to so I used my full-size tripod because I had it handy.
Load NOOBS on your microSD card
I used my Windows PC to download NOOBS and load it on my microSD card by following the directions here at RaspberryPi.org.
Let's assemble the parts
Like most cases for a Raspberry Pi, it's pretty easy to figure out how everything goes together without instructions. The most difficult part for me was deciding how to route the camera's ribbon cable and how to position the camera on the case's LEGO compatable lid.
In the end I decided to route the camera ribbon cable through the slit in the back of the camera case, and then through the small slit in the Pi case. The back of the camera case then attaches to the LEGO cover on the Pi case and completely conceals the ribbon cable inside the cases.
Orienting the camera like this leaves the Pi case's GoPro mount on the side of the case, but I got some different GoPro mount extensions that let me position everything just about any way that I want.
I could have just as easily had the GoPro mount facing downwards and routed the ribbon cable from the camera out of the longer slit opening on the front right next to the mount.
Boot your Pi, then install & update Raspbian
NOOBS will load when you power on your Pi for the first time and here is where you will want to tell it to install and use Raspbian as the operating system. You'll reboot when Raspbian is ready to run, and then you should make sure it's updated by running these commands.
sudo apt-get update
sudo apt-get dist-upgrade
Enable and test camera
Enter the following command, then find the camera option in the configuration program, and set it to 'enable'.
sudo raspi-config
Now you can test the camera by using the following command, which will display video from the camera on your screen until you press Control-C to cancel it.
raspivid -t 0
If you see video from the camera on the Pi's display then you are ready to go on to the next step. If you are having difficulty or are just curious to learn more about using the camera, take a look at this document at RaspberryPi.org that goes into much greater detail than I have.
Install VLC
We need one more piece of software to take the video from raspivid and stream it over the network, and we'll use VLC to do that. Install VLC with the following command.
sudo apt-get install vlc
Let's stream video!
Here is the command that we've been waiting for, which I will explain below.
raspivid -o - -t 0 -b 5000000 | cvlc -vvv stream:///dev/stdin --sout '#rtp{sdp=rtsp://:8554/stream}' :demux=h264
Of course raspivid is the program we used before to test the camera, and we use it again here to get the video from the camera, and the following options make it do what we want. There are many other possible options that may want or need to use in your situation. The raspivid document I linked to above covers them if you need more help with it.
- "-o -" tells it to send the video to stdout
- "-t 0" tells it to keep sending until we stop it
- "-b 5000000" tells it to use a bit rate of 5 Mbps. This can be whatever you need. I don't see any documentation that says this option should be needed, but I don't get a video stream unless I use this option with some value stated.
After the pipe (vertical line) we run the cvlc command that was installed as part of VLC earlier. This is what takes the video from raspivid and streams it out on the network. The two most important parts for us at the moment are the port number, which is 8554 here, and the stream name which is /stream in this case.
There are instructions out on the web that fail to mention that this stream name is needed, and it does not work without it. I ran into that when I first tried to get this going, and it was this forum thread that told me how to get it working.
One last step on the Pi would be to add a startup script to run this command if you want the video stream to automatically start every time the Pi is powered on.
View your stream on a PC or other device
My first video test was to view the video stream on a PC running Windows 10 that I already had VLC Media Player installed on. Open VLC and go to Media - Open Network Stream, where we will enter the network URL needed to access the video stream.
You need to know the IP address of your Raspberry Pi at this point, and if you're not sure you can see what it is by running the ifconfig command. Here you can see that I am using the wireless connection and the IP address of my Pi is 192.168.1.20. You can also see that it's racked up a lot of transmitted data on the counter streaming live video at 5 Mbps since last night sometime. 🙂
ppi@raspberrypi3:~ $ ifconfig
eth0: flags=4099<UP,BROADCAST,MULTICAST> mtu 1500
ether b8:27:eb:56:7e:07 txqueuelen 1000 (Ethernet)
RX packets 0 bytes 0 (0.0 B)
RX errors 0 dropped 0 overruns 0 frame 0
TX packets 0 bytes 0 (0.0 B)
TX errors 0 dropped 0 overruns 0 carrier 0 collisions 0
lo: flags=73<UP,LOOPBACK,RUNNING> mtu 65536
inet 127.0.0.1 netmask 255.0.0.0
inet6 ::1 prefixlen 128 scopeid 0x10<host>
loop txqueuelen 1 (Local Loopback)
RX packets 0 bytes 0 (0.0 B)
RX errors 0 dropped 0 overruns 0 frame 0
TX packets 0 bytes 0 (0.0 B)
TX errors 0 dropped 0 overruns 0 carrier 0 collisions 0
wlan0: flags=4163<UP,BROADCAST,RUNNING,MULTICAST> mtu 1500
inet 192.168.1.20 netmask 255.255.255.0 broadcast 192.168.1.255
inet6 fe80::d92d:5772:ffd3:7fd3 prefixlen 64 scopeid 0x20<link>
ether b8:27:eb:03:2b:52 txqueuelen 1000 (Ethernet)
RX packets 155546 bytes 39846460 (38.0 MiB)
RX errors 0 dropped 5 overruns 0 frame 0
TX packets 28266024 bytes 861347134 (821.4 MiB)
TX errors 0 dropped 0 overruns 0 carrier 0 collisions 0
The URL we need to enter in VLC Media Player consists of this IP address along with the port number and stream name that we used with the cvlc command on the Pi, and here's what it looks like in VLC Media Player on my Windows 10 PC.
Success! If you can see video from your camera here then you know that all parts are working and you have your Pi camera streaming video on the network.
I find that the video from the camera to the Pi's display is nearly real time with no real delay at all. On the other hand, there's almost a two second delay from the time something happens on the camera, gets encoded, travels across the network, gets decoded, and finally gets displayed on my PC. This delay is not unusual at all and is nothing to worry about.

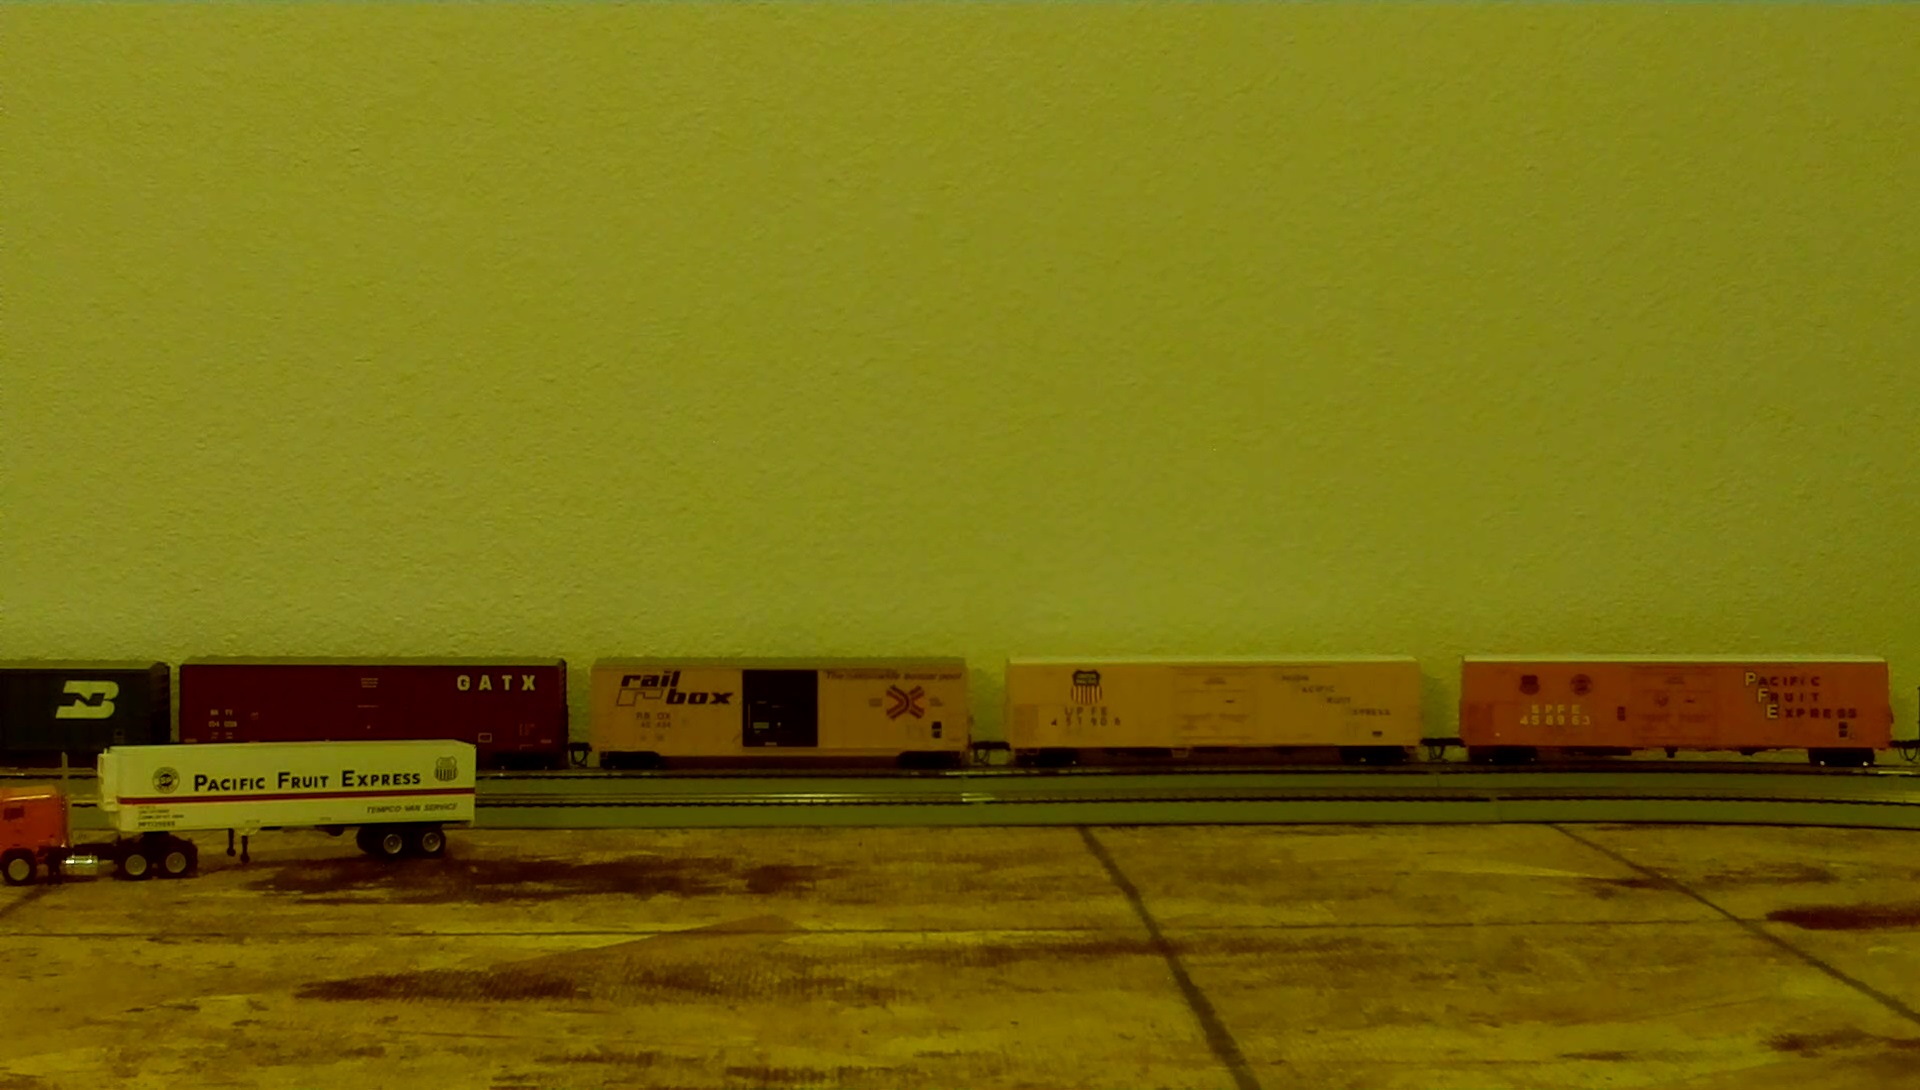
VLC Snapshot from the video stream seen on my Windows PC with HO train cars about 4 feet away from the camera lens.
Using the video stream in other applications
I tried to use this video stream in several applications running on other devices and it seemed to be hit or miss on whether it would easily work on the first try or if there was some trouble that would take additional work to get going.
I use Genius VisionNVR software to record my security cameras at the moment, and it looked like I should be able to easily add this RTSP stream from the Pi. Unfortunately I could never view the stream even though it appeared to be correctly setup, and I didn't spend a lot of time on it because I didn't plan to keep using this as a permanent camera in the future anyways.
I'm testing several security camera apps right now so I tried them and was able to easily add the Pi's RTSP stream to tinyCam Monitor Android app, Onvifer Android app, and also the Windows version of Onvifer called IP Centcom
These apps all added it as a UDP stream and not as a TCP stream. I think this may be why Genius Vision didn't see the stream, and I believe I could get that functioning too if I spent more time working on it.
Final thoughts
I chose an inexpensive camera module for this little experiment and its low performance reflects the low price. It can't see in low light or with IR lighting and it has poor dynamic range, so it can't compare to a real security camera like the ones I've reviewed here at all. It could still be useful for many things though, and if you used a better camera and some other improvements there is no reason that you couldn't make a good security camera with your Raspberry Pi.
Please leave a comment below if you have any suggestions or thoughts about using the Raspberry Pi as a security camera. I have a few more things to try with this camera project and will update this article again soon.


